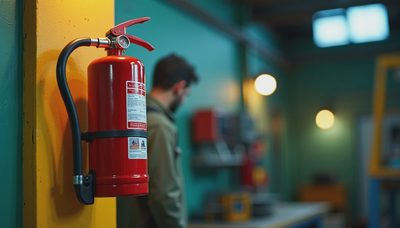
A guy brought in his truck last week and nearly started a fire right in my bay. He had stashed a half-empty can of brake cleaner on top of a space heater. That’s the kind of thing that makes you realize how easy it is to overlook **chemical storage safety garage** practices. Whether you run a full auto shop like mine or just keep a few jugs of oil in your ranch shed, storing chemicals wrong is a fast track to disaster.
I’m Luis Herrera. I’ve been turning wrenches since I could reach the bench, and I also keep a small ranch west of San Antonio with a couple of tractors and a UTV that breaks down more than I’d like. Over the years, my grandfather taught me one rule that’s never failed: **chemical storage safety garage** means treating every jug like it could explode. It doesn’t have to be complicated, but it has to be right.
Why Chemical Storage Safety Garage Matters for DIYers and Pros
Even if you only store a few bottles of windshield washer fluid and a jug of coolant, a mistake can cost you your building. Flammable liquids like gasoline, paint thinner, and brake cleaner have flash points well below normal shop temperatures. A spark from a grinder or a pilot light on a water heater can ignite vapors you never even smelled. That’s why **chemical storage safety garage** isn’t just for big factories—it’s for every toolbox owner.
On the ranch side, I’ve seen guys leave herbicide bottles in the sun until they bulge. That’s a leak waiting to happen. A spill that runs into a drain can kill pasture grass for years or poison a well. My approach is simple: keep everything in its original container, label it clearly, and store it away from heat sources and direct sunlight. The same rules apply whether you’re in a two-car garage or a twelve-bay shop.
Step One: Separate Your Chemicals by Hazard Class
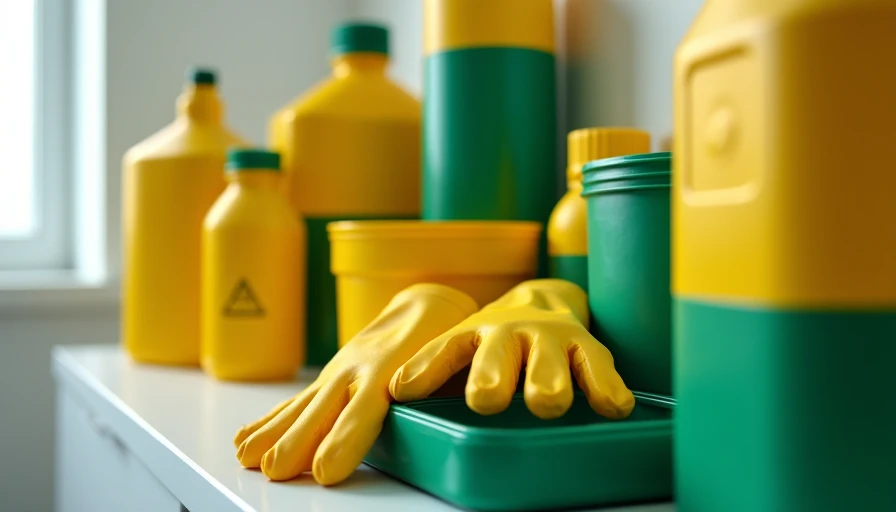
This is the first thing my father made me learn. You don’t store acids next to bleach, and you don’t keep diesel fuel with oxidizers. A basic **chemical storage safety garage** plan starts with grouping products by their hazard category. Flammables go in a metal cabinet away from any ignition source. Corrosives (like battery acid and some cleaning agents) go in a separate plastic bin that can handle a leak. Pesticides and fertilizers go in a locked cabinet—especially if you’ve got kids or grandkids around.
I use a simple pegboard system with labels: red for flammables, yellow for corrosives, green for fertilizers. That way when I send my helper to grab a can of carb cleaner, he knows exactly where to look. It keeps the shop organized and cuts down on accidents. My grandfather taught me this trick—still works 40 years later.
Step Two: Use the Right Containers and Cabinets
Never transfer a chemical into a food container. I can’t tell you how many calls I’ve taken from folks who stored gasoline in an old milk jug. The plastic degrades, the jug leaks, and you get a puddle of fuel under your toolbox. Instead, use the original container or a rated safety can. For larger quantities, invest in a flammable liquid storage cabinet. They’re built to contain spills and withstand a fire for a certain amount of time.
Shop Trick: If you’re on a budget, check auctions or Craigslist for used safety cabinets. Just clean them out before you use them. I found an old one from a closing body shop for fifty bucks. That cabinet has held my paint thinners for six years now, and it’s still solid. **Chemical storage safety garage** doesn’t have to break the bank, but you can’t cut corners on the container itself.

Step Three: Ventilation and Secondary Containment
Even if you store everything in the right cabinet, vapors can build up. Make sure your garage or shop has good cross-ventilation—open a door or a window when you’re working with solvents. I run a small exhaust fan in my paint-mixing area. For extra peace of mind, put your chemical storage on a plastic tray or in a shallow tub. If a can leaks, the tray catches it before it spreads across the floor.
On the ranch, I store my hydraulic oil and diesel additives in a metal shed with a concrete floor. I put every drum on a spill pallet. The first time a barrel sprung a pinhole leak, the pallet saved me from a messy cleanup. That’s the kind of **chemical storage safety garage** move that pays for itself the first time you use it.
Step Four: Train Everyone Who Works in Your Space
I’ve got a couple of part-time guys who help in the shop. The first thing I do with a new hire is walk them through where chemicals are kept and what to do if something spills. I keep a spill kit near the storage area: absorbent pads, gloves, and a bag for disposal. Same goes for my son when he helps on the ranch. He knows that if he sees a leaking container, he doesn’t touch it—he comes and finds me.
A guy brought in his truck last month and saw my labeled cabinets. He asked if it was overkill. I told him about the time I almost lost my grandfather’s shop to a gas can fire. He didn’t ask again. **Chemical storage safety garage** is about habit, not heroics. If you make it routine, it becomes automatic.
Final Thoughts: It’s Your Place, Protect It
Whether you’re tuning a Mustang or servicing a tractor, the way you store chemicals says a lot about your work ethic. Take an afternoon to audit your garage. Pull out every can, read the label, and decide where it really belongs. Group them, container them, and label them. Your family, your customers, and your equipment will thank you.
If you’re not sure about a specific chemical, the SDS (Safety Data Sheet) is free online. Look it up. It’ll tell you exactly how to store it. And if you’ve got questions, drop by the shop—I’m always happy to walk through a **chemical storage safety garage** check with a neighbor.