A guy brought his old John Deere planter to the shop last week, complaining about uneven stands. I walked him through a proper planter calibration, and it saved him nearly 15 percent on seed costs that season. Planter calibration is one of those tasks that pays for itself in the first pass. If you’re running a row-crop planter on your ranch, getting the calibration right means consistent seed depth, spacing, and emergence — and that translates directly to better yields at harvest.
Why Planter Calibration Matters
Every year I see the same thing: someone skips planter calibration, then wonders why their corn stand looks like a bad toupee. Uneven emergence costs you bushels at the end of the season. Research from extension services shows that a 1 percent drop in stand uniformity can reduce yield by nearly 0.5 bushel per acre. On 500 acres, that’s real money. Planter calibration takes an afternoon, but the return on that time is huge. You also avoid over-seeding — if your meter is dropping 10 percent extra seed, you’re burning cash. A good calibration session can cut seed costs by 10–15 percent, which in today’s market is nothing to sneeze at. Plus, uniform emergence makes harvest easier because everything matures together. So if you haven’t done a planter calibration in the last year, it’s time to put it on the list.
How to Do a Planter Calibration
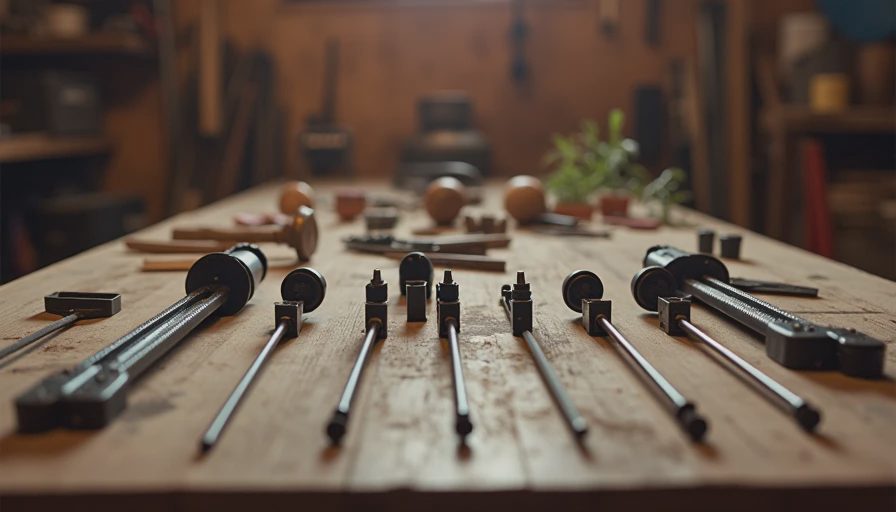
First, pull out your owner’s manual. Every planter is a little different, but the basics are the same. Start by cleaning each row unit — get all the old seed, dust, and debris out of the seed tube, disk openers, and closing wheels. Then check your meters: look for worn parts, cracked seed disks, and worn belts. Replace anything that looks suspect. Next, set your seed depth and down pressure according to the manual and your soil conditions. For my Texas clay, I usually run a little heavier down pressure than the book says. Now the actual calibration: remove the seed tube from a row unit, put a bag or can under it, and crank the drive wheel a set number of revolutions (typically 100 or 500, depending on your planter). Weigh the seed collected. Compare that to the target seed population per acre. If it’s off, adjust the meter settings. Repeat for each row unit — don’t assume one unit is like the others. I’ve seen 20 percent variation between units. That’s a disaster waiting to happen. Finally, do a field check: plant a short distance, dig up seeds, measure spacing and depth. If it’s good, you’re set. If not, tweak and recheck.
Common Planter Calibration Mistakes to Avoid
I see the same errors year after year. One: skipping the row-unit check. People calibrate one unit and assume the rest are fine. Wrong. Two: ignoring seed size and shape. The same meter settings won’t work for round corn and flat soybeans. You need to recalibrate when you switch seed lots. Three: forgetting that speed affects drop. If you calibrate at 4 mph but plant at 6 mph, your spacing goes off. Factor in your actual field speed. Four: not cleaning the seed tube sensors on newer electronic meters. Dust can cause false readings. Five: checking only one side of the planter. Always check both wings. A little extra time on planter calibration saves your crop, so take the time.
A Shop Trick for Checking Planter Calibration
My grandfather taught me this trick — still works 40 years later. After you calibrate, run the planter over a concrete floor or a tarp. Make a pass, stop, and measure the seed spacing along the tarp. You can do this with a measuring tape or even a piece of string. If the spacing is off by more than half an inch, you’ve got a problem. This gives you a real-world check before you hit the field. I’ve saved many a planting from uneven stands this way.
When to Call a Pro for Planter Calibration
If your planter is older or you’re seeing issues like skips, doubles, or depth variation even after calibrating, it might need more than a simple adjustment. Worn bushings, bent shafts, or damaged meter housings require a shop. I tell folks: if you’ve done the steps above twice and still aren’t getting consistent results, bring it to me. We have the tools to flow-test meters and replace worn parts. No shame in asking for help. Sometimes a professional planter calibration is the best money you can spend before planting.
Planter Calibration Tools Worth Having
You don’t need a full shop, but a few tools make planter calibration easier. A digital scale that reads in grams is key. A seed population calculator app saves time. A set of hand tools for removing units. And a torque wrench for wheel hardware. I also keep a small air compressor to blow out seed tubes. These tools pay for themselves in one season of accurate planting. If you plan to do your own planter calibration every year, invest in a simple calibration kit from your planter brand.
So there you have it. A solid planter calibration routine will give you even stands, higher yields, and lower seed costs. I’ve been doing this for thirty years, and it never gets old. If you’re tired of guessing, bring your planter by the shop. We’ll get it dialed in.